
By Wendy Walters 2014

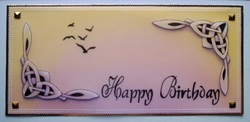
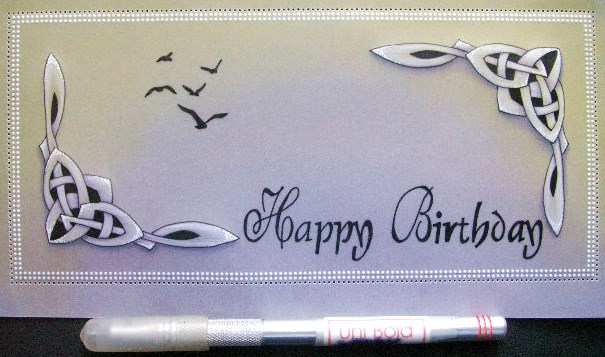
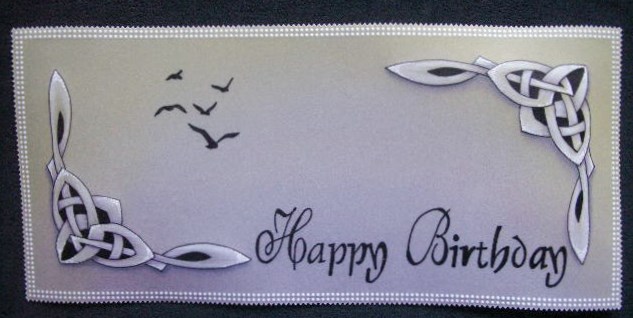
Parchment Craft - 'Celtic Corners Birthday Card'
The design can be used for a mans card and would also be useful for a sympathy card.
Techniques include: Tracing with a fine black pen, colouring with blendable pencils and shading to create dimension, a simple grid border edges the design and assembled using gold brads.
The design can be used for a mans card and would also be useful for a sympathy card.
Techniques include: Tracing with a fine black pen, colouring with blendable pencils and shading to create dimension, a simple grid border edges the design and assembled using gold brads.
| free_digital_pattern_-_celtic_corners.pdf |
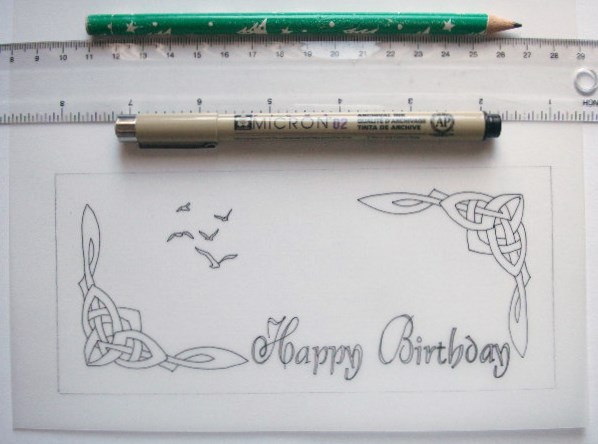
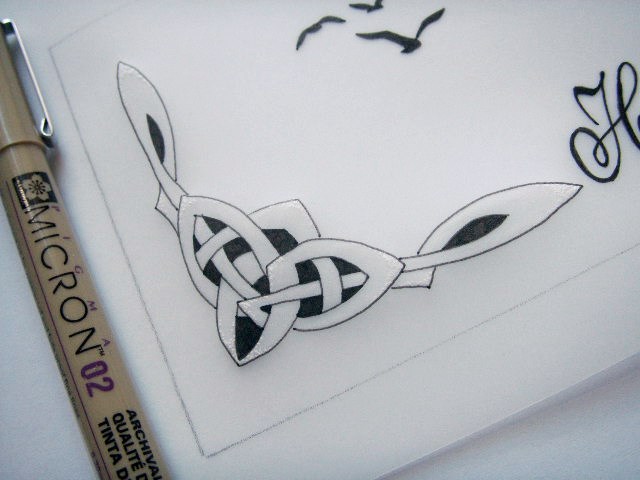
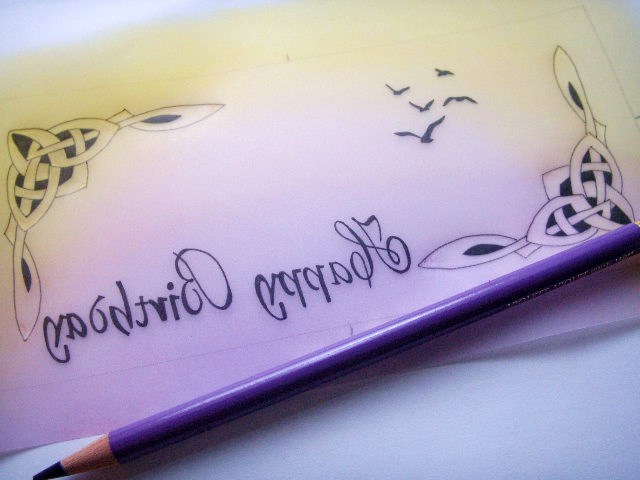
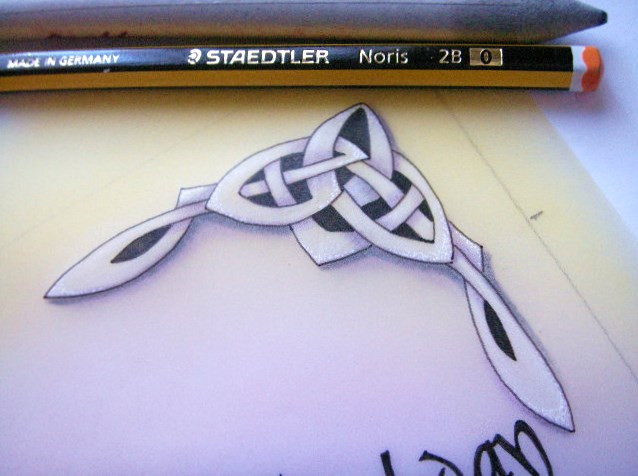
Step 1: The picture above shows the traced pattern using a graphite pencil for the border and a black micron pen 02 mm for the rest of the design.
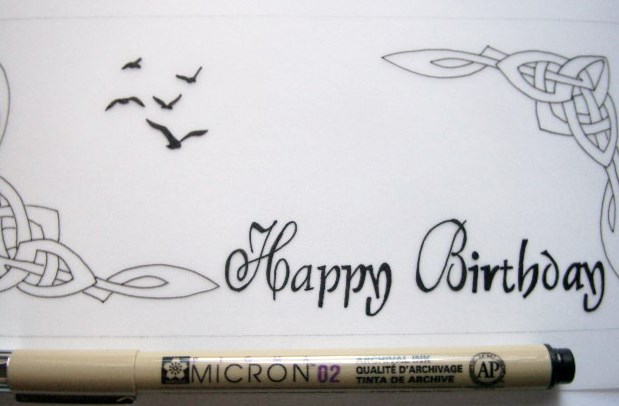
Step 2: With the black pen fill in the birds and lettering as shown.
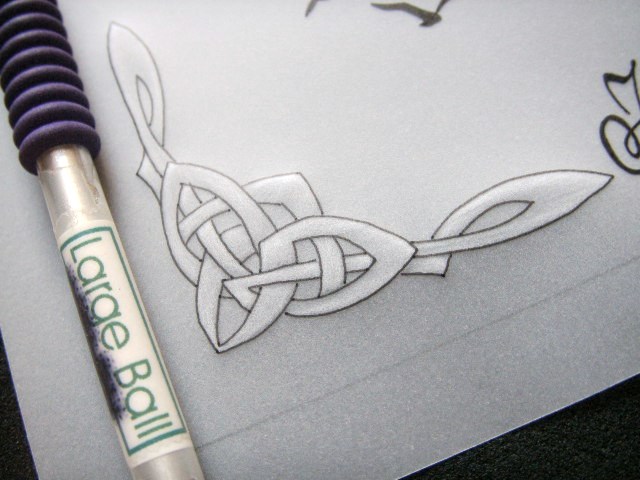
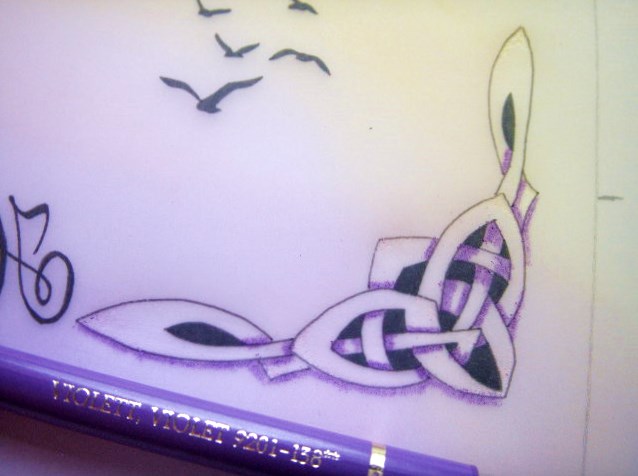
Step 3: With a large ball tool from the back softly emboss inside the Celtic corners
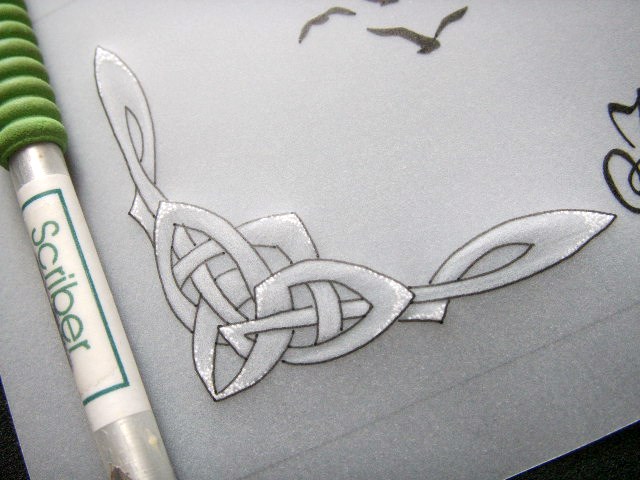
Step 4: Stipple Emboss at the tips of the corners as shown using a scriber tool or similar.
Step 5: Fill in the areas in the corners using a black pen, this instantly gives the corner design more dimension.
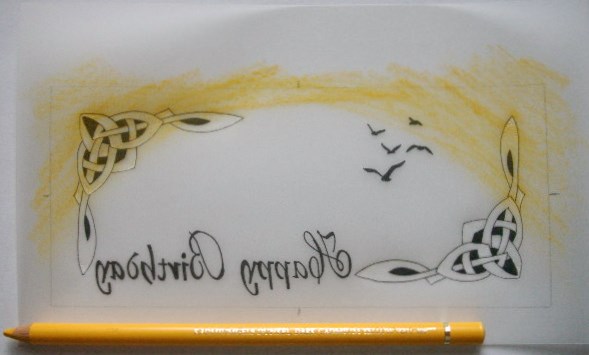
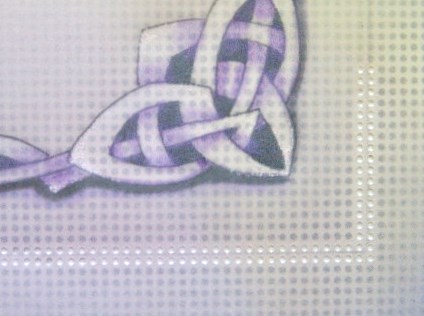
Step 6: Add colour on the back using blendable pencils i have used a yellow applied to the sky area.
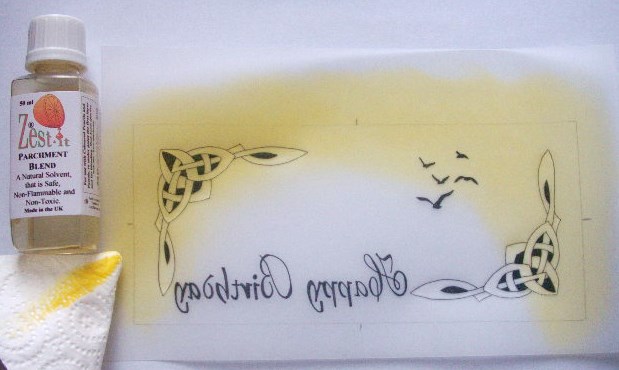
Step 7: Blend the pencil using a piece of kitchen paper folded into a paper stub dipped in a blending medium, I used Zest it oil.

Step 8: Add another colour on the back, I used a pink tone and blended as before.
Step 9: My last colour 'Purple' was added at the bottom these colours give the look of a sunset.
Step 10: Add colour on the back with the same purple pencil as in last step, apply as shown to create the effect of shadows. This is the bottom corner.
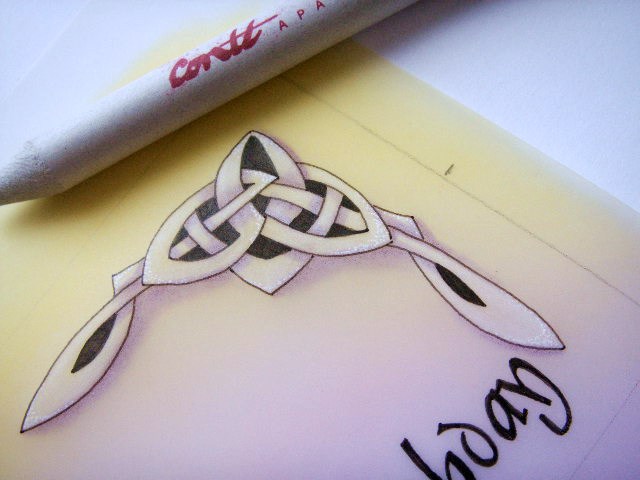
Step 11: Apply the pencil shadow to the top corner as shown.
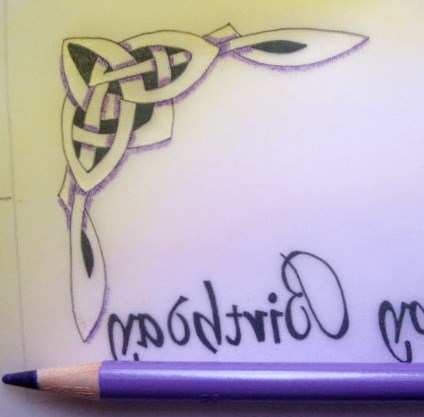
Step 12: Blend the pencil shadows using a paper stub and zest it medium, the picture above shows the finished effect from the front.
Step 13: Add more depth to the shadows by adding a little graphite pencil (on the back) over the blended purple keeping it close to the black traced line, blend with paper stub.
Step 14: Grid border - Pergamano Grid 28 Bold Straight - Place on grid right side down and emboss a double row of holes following your pencil border line then remove from grid.

Step 15: Attach your parchment back onto the grid right side up and perforate a row of holes around the outside of your embossed dots using a PCA Uni Bold single needle tool or similar. The picture above and below show the parchment off the grid and the finished result.
Step 16: Cut around the border perforations using parchment craft scissors, you should have a neat 'Picot' style edge if cut correctly, look in my video techniques section to see how.


Assemble your design: Cut a piece of gold card slightly larger than your parchment.
Attach the design to the gold card using gold mini brads in each corner.
Attach to a base card of white pearl using an all purpose glue or double sided tape.
Attach the design to the gold card using gold mini brads in each corner.
Attach to a base card of white pearl using an all purpose glue or double sided tape.
I hope you enjoy making this design, if you have any questions do not hesitate to ask.
Please email me: [email protected]
Please email me: [email protected]
| free_digital_pattern_-_celtic_corners.pdf |
 RSS Feed
